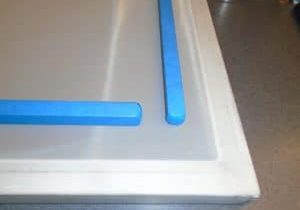
You can visually see if there is a thicker deposit of emulsion in the corner of the screen by noticing the darker color. First, it is important to establish if the problem is consistent and happens on every screen or if the problem is random. If the problem is random, then quite possibly there is an issue with that specific screen. See future blogs for problems related to improperly stretching screens and warped frames.
Sources of heavy deposit in the corner of a screen
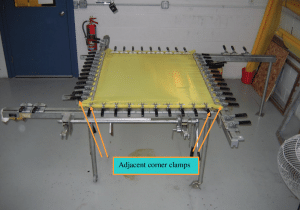
Generally, there are two sources that could create a heavy deposit in the corner of a screen. Either excessively soft screen tension in the effected corner/s or the coating machine is out of calibration. To check screens for proper screen tension, use a tension gauge and measure the tension level in all four corners and also in the middle of the screen. Ideally, the tension deviation should be no more than 1-2 N/cm^2 throughout. If a corner is more than 4-5 N/cm^2 different from the others measurements, the mesh will behave much differently there than in the rest of the screen and could very well produce thick emulsion deposits in that area. A tension gauge is a relatively inexpensive Quality Control device that can make a world of difference in your end product. Look for future blogs to address tensioning issues.
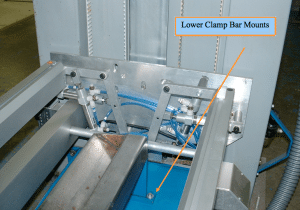
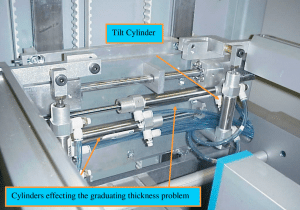
If the screen tension is good, and the problem is consistent from screen to screen, then we need to look at the coating machine itself. The frames are held in the coating machine by using clamping blocks to hold it securely in place. First check that the clamping blocks are locked down in their respective positions. Most clamping blocks have a degree of play when not secured properly. Also inspect each of the clamps, particularly the bottom clamps, for any emulsion that would prevent the frame from sitting properly in the machine.
Frame position is critical
Next we need to make sure the frame is properly positioned in each of its corners during the coating process. Each clamping block has a frame pin that the screen frame sits against. If one of the frame pins in not in its proper location (out of calibration) the frame will behave like a table with a short leg and rock during the coating process.
Checking frame pins is easy
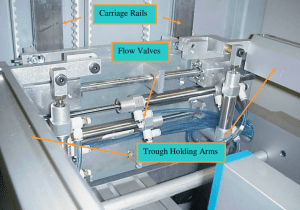
Easiest method to check each of the frame pins is a two part process. Using the machines manual function, maneuver the coating carriage so it is level with the bottom clamps and measure from the trough holding arm to the each of the bottom frame pins. Then manually position the coating carriage so it is level with the upper clamps and take the same measurements. All four measurements should be no more than 1/2mm different from each other.
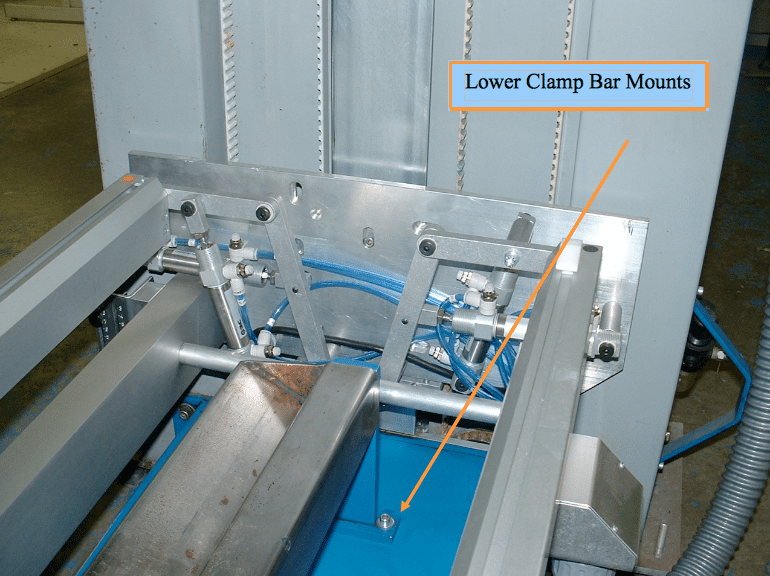
If an adjustment needs to be made, loosen the lower clamp bar mounts, move it into alignment with the upper clamps and tighten. Repeat the measuring process to ensure the proper adjustment has been made. As always, feel free to contact me with any questions.


