Stretcher Tips

Issues Related to Your Frame During Stretching

Stretcher issue.

There are a number of frame issues to keep an eye out for that could cause problems
during the stretching process. Knowing what to look for can save both time and money.
The solutions are generally quick and easy. The worst offender is a warped frame. Sharp
edges and heavy spots of old glue can also cause problems. It’s always a good idea to
inspect your frames before the stretching process. Once you determine your frame is in
good condition, bring the screen up to tension and make sure there is good contact
between the mesh and the frame while gluing.

Warped Frame

A warped frame has a whole host of problems all its own, from uneven tension,
difficulty getting an even emulsion coat and difficulty registering on press to potentially
breaking the glass in your exposure unit (single points of contact). Roller frames are a bit
easier to correct by pushing or pulling the offending corner. A warped stretch and glue
frame is caused by either a manufacturing defect or metal fatigue. In either event, it’s
difficult to correct. If it’s a new frame, contact the supplier. If it’s an older frame,
consider replacing.

Sharp Edges

Sharp edges can develop from rough handling throughout the process or by not
removing the glue properly during reclaim. Use a piece of cloth to avoid injury and drag
it along the edges of the frame that will be in contact with the mesh. If the cloth pulls,
remove the burr with a file or sand paper.
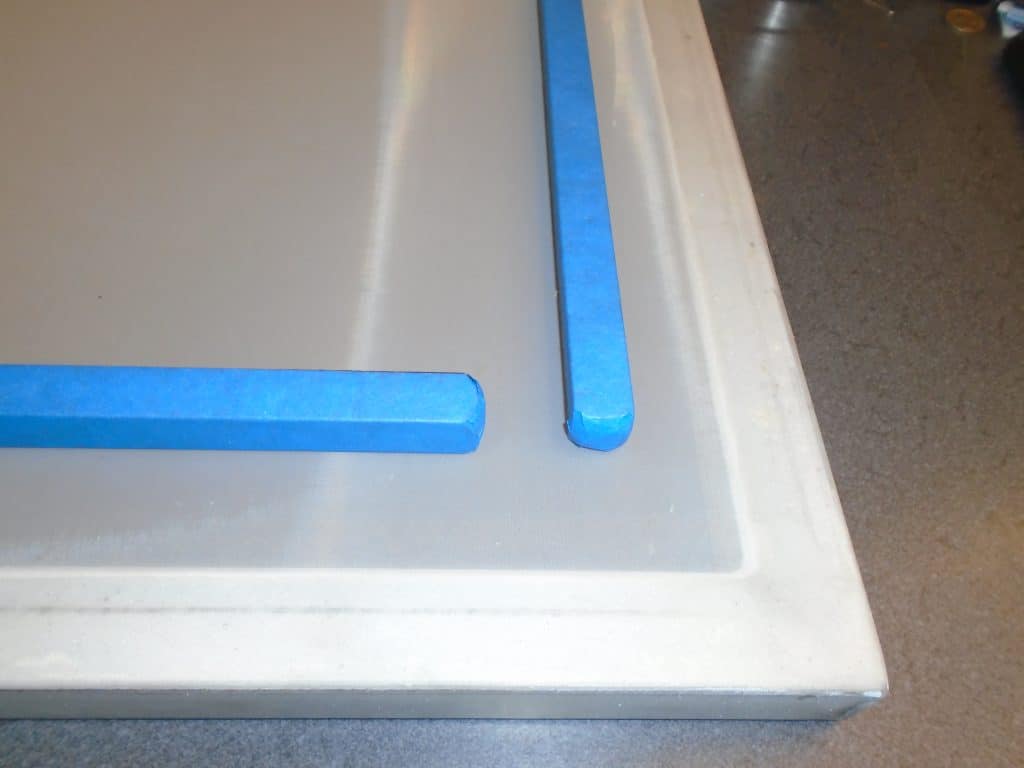
Glue Build Up

A common practice in reclaiming a frame is to leave the previous layer of glue. In
many cases it provides a better surface to glue to than the original aluminum surface. Be
careful not to let the glue build up become too heavy. With many types of glue, parts of
the thick layer will break off with the mesh during reclaim creating pockets on the glue
surface that will be hard to fill in.
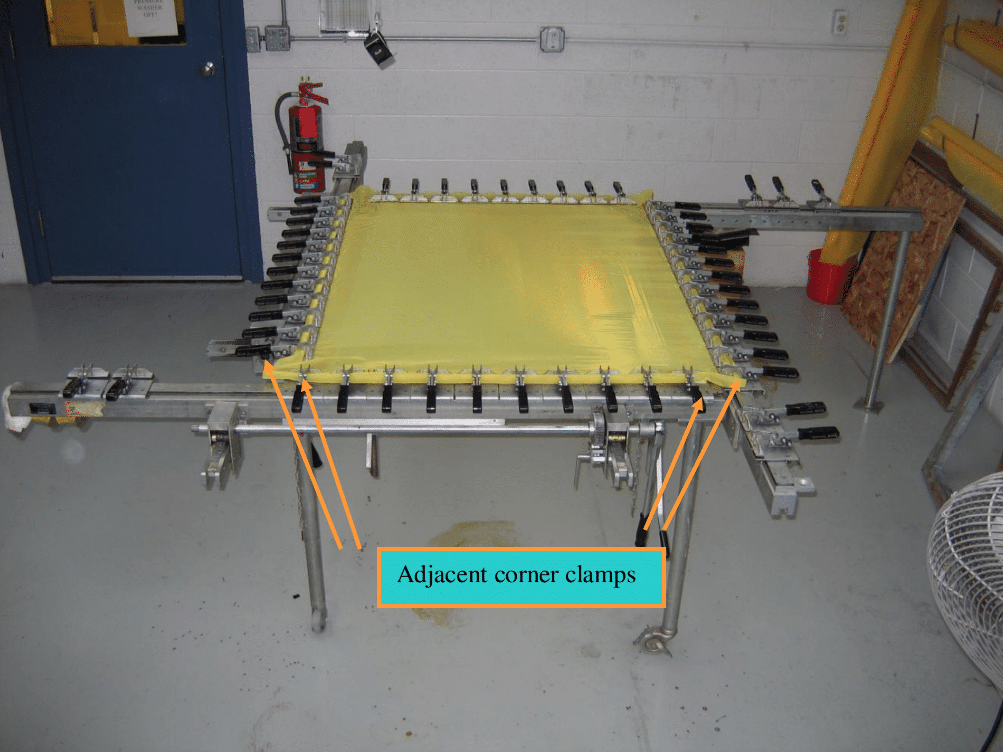
Mesh/Frame Contact

Most stretch and glue stretching systems these days allow you to stretch the mesh with
out contact to the frame until the desired tension is achieved. At that point the mesh is
lowered to the frame or the frame is raised to the mesh. Before gluing, inspect the
contact area by pushing down on the mesh along the inside edge of the frame. If the
contact is not good, you will physically see the mesh come into contact as you push
down. Providing the problem is not drastic, a simple solution is to use weights along the
inside edge. I prefer 1″ x 1″ x 12″ steel bar stock with all edges and corners rounded.
Place the weights approximately 2″ from the inside of the frame along the entire ID of the
frame.

Prepress Manual Stretchers: Properly Tensioning a Screen

Manual Stretchers - Properly Tensioning Screen
The general operating principle of a mechanical stretching system is four rails each containing individual stretching clamps that move along the rail as the screen is tensioned and the mesh elongates.

Adjust the stretching system’s size

To properly tension a screen, first adjust the stretching system’s size to accommodate the frame. Load the frame onto the lifting supports and then load the mesh. Make sure the frame is below the mesh plain so the mesh is not being dragged across the frame during the process. Quite often there are small burs on the frame whether it’s metal burs or sharp glue remnants from the previous mesh removal process that would cause tearing.

Lock the mesh along one side first ensuring the edge of the mesh is parallel to the clamps. Unroll the mesh to the opposite side , cut to size and lock it in. Take care that the mesh is straight. Repeat the process for the remaining two sides.

Soften or “bag” the corners

The next step is the most critical for a uniformly tensioned screen. One of the biggest deficiencies to the mechanical system design is that if we start stretching at this point, the corners would become significantly over tensioned. Some manufacturers have improved the design slightly by putting shorter, “double” clamps in 2 of the corners, but this only helps to a degree and could still allow over tensioning in the corners. The solution is to soften or “bag” the corners.

Put a little tension on the mesh to remove any wrinkles. Then, in each corner, loosen the grip of the 2 adjacent clamps. Push down slightly on the mesh in the corner to draw the mesh away from the clamps and retighten the grip. The amount of mesh you pull away from the clamp will depend a bit on the final tension desired and size of the frame so you will need to use a little trial and error.

Alternating tension direction is critical

Begin the tensioning process and make sure to alternate directions as you go. Do not completely tension one direction first and then the other. Similar to changing a tire. You don’t want to lock down one lug nut and move on to the others. Once you have achieved the desired tension, let the system rest (relax) for 10-15 minutes and then bring the tension back up to the desired tension level. The reason for this is that mechanical systems are static. As the mesh relaxes and losses tension the system does not keep pulling as do pneumatic systems. If time allows, repeat the relaxation period one more time.

Gluing the mesh to frame

To glue the mesh to the frame, first raise the frame to the mesh. Most systems accomplish this with mechanical or pneumatic lifting jacks. Make sure there is good contact between the mesh and the frame. Quite often people will use a series of weights on the mesh inside the ID of the frame to achieve a better gluing surface. Typically 5 lbs per foot is sufficient. I prefer steel bar stock (1″ x 1″). Apply the glue as specified by the glue manufacturer and let dry. Once the glue is dry, reduce the tension on the outside of the frame and cut out. One optional step to keep every one down the process line happy, trim and clean up the edges (especially helpful to remove any sharp glue burs).

Refer to my other blogs on stretcher maintenance and proper jaw tension to ensure the mesh is held tightly in the clamp jaw and is not slipping during the stretching process.

If you have a question, please post it in the comments below. If you need immediate support, get in touch.