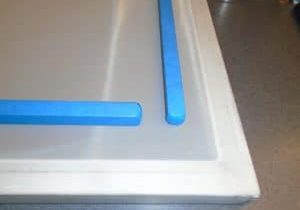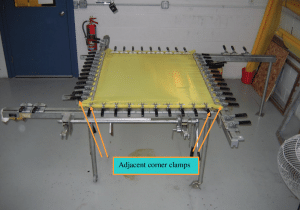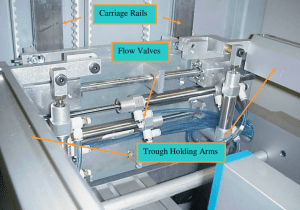
Over time the coating machine’s carriage mechanisms, responsible for bring in the coating troughs into the screen, will fall out of calibration and need adjustment. Usually, the tell tale sign is a heavy deposit of emulsion along one side of the screen from the bottom to the top. There are generally two versions of the problem. First is a heavy deposit getting progressively worse towards the side of the screen. In most cases the effected area is 5%-35% the width of the emulsion area (graduating thickness). The other scenario is a thick bead of emulsion only along the very edge of the coating area.
Problem: graduating thickness
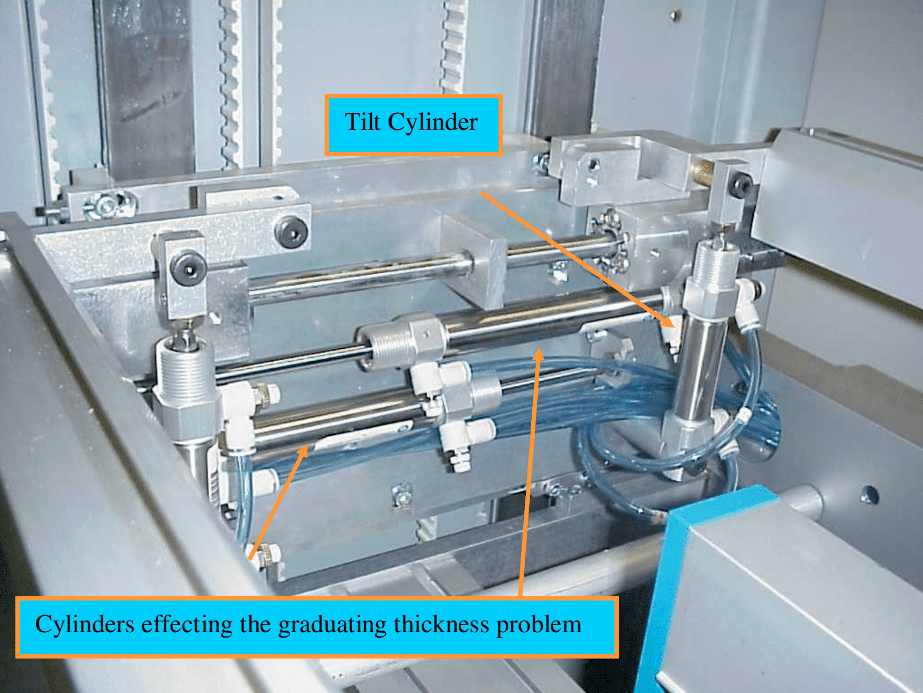
When the heavy deposit effects more than just the edge of the coating area, it usually indicates a problem with the position (calibration) of one or both of the coating troughs relative to the screen. Each coating trough, both the front and the back, should push through the screen evenly approximately 1-3mm depending on the width of the screen and proximity to the inside edge of the screen frame.
In order to determine which side, front or back, is causing the problem, look at the outer most affected side. Knowing the front coating trough is the wider of the two, if the affected area goes all the way to the outside edge, then the problem is with the front coating trough. If the effected area stops 1/4″ from the affected side the problem will be with the back coating trough.
How to correct
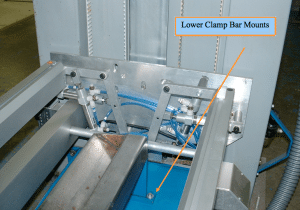
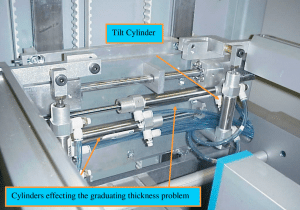
Once the problem has been isolated, the solution is to simply bring the problem side in more towards the screen. The shaft on each of the pneumatic cylinders is threaded at the end and screws into an aluminum positioning block. Loosen the 13mm locking nut and use a 7mm open end wrench to turn the flats on the shaft in the correct direction. Keep in mind, a little goes a long way. Usually 1 full turn is enough. Tighten the 13mm locking nut and give it a try.
Problem: thick bead at the outside edge
Less commonly seen is a thick bead of emulsion a the far outside edge of the coating area. This is usually an indication the tilt cylinders need an adjustment. If the tilt cylinder under or over rotates the coating troughs there is not proper contact between the coating trough end cap and the mesh plain. The result is a gap that allows emulsion to flow through.
How to correct
The procedure for correcting this is virtually the same as correcting the graduating thickness. First determine if the affected edge is on the front or the back. If the thick bead is all the way to the outside, it’s the front trough. If the bead is 1/4″ to the inside of the coating area, it’s the back trough. Then determine if the affected side is over rotated or under rotated. Put an uncoated screen and empty coating trough (on the affected front or back side) in the machine. Raise the coating carriage approximately half way up the screen. Using the machines manual functions, bring the trough in, tilt it and visually inspect to assess whether it’s over or under rotated.
Loosen the 13mm locking nut and use a 7mm open end wrench to turn the affected cylinder shaft in the correct direction. Again, a little goes a long way. Start by turning it 1 revolution. Tighten the locking nut and try a new screen with emulsion.
If you have a question, please post it in the comments below. If you need immediate support, get in touch.


